

How To Set Up Folding Table
How to Build an Piece of cake DIY Folding Table
Build a solid, durable folding table in a twenty-four hours.
![]() Time
Time
A total 24-hour interval
![]() Complexity
Complexity
Intermediate
![]() Toll
Toll
$51–100
Introduction
Here is an inexpensive style to custom build a sturdy foldable table that will last a lifetime.
Tools Required
Materials Required
- one-i/four" finish nails
- 1/2" 10 4' x four' Baltic birch plywood (1)
- 220-grit sandpaper
- 3/four" finish nails
- 3/4" panhead screws
- 3/iv" x 2' x 4' Baltic birch plywood (1)
- Folding leg brackets
- Wipe-on polyurethane
- Wood filler
- Wood mucilage

Projection pace-past-stride (xiv)
Step one
Cutting the Tabletop
- Get-go, cut twoscore-i/four-in. from your sheet of plywood using a table saw or circular saw.
- Next, cutting the width and height of your tabletop to 40-in. 10 40-in.
- Pro tip: Make your first cutting at least ane/4-in. longer than the finished length, and so you have actress to foursquare up the other edge.

Pace 2
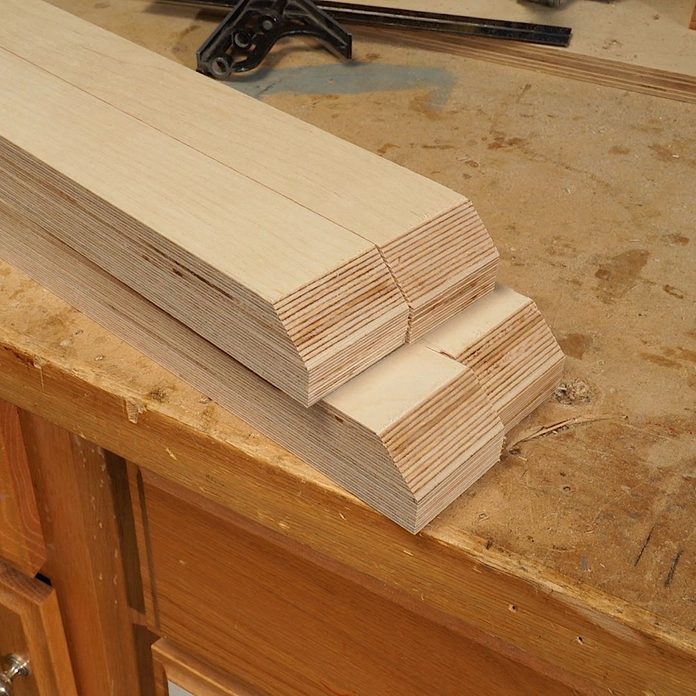
Cut the Lesser Edge
- Rip iv bottom edge boards at 2 inches from the remainder of the one/ii-in. plywood.
- Cutting the two-inch boards to length, ii at twoscore inches and the other two at 36 inches.
![]()
Step iii
Cut the legs
- From the 3/four-in. sail of plywood, cut the lath at 30 inches.
- Rip eight 2-1/iv-in. strips from the board you lot just cut.
Step 4
Cut the Mounting Blocks
- Rip ane 2-1/four-in. board from the balance of the 1/two-in. plywood.
- Cut four three-inch blocks from the board yous just cutting.

Step 5
Gluing the Lesser Edge
- Apply glue to the two 40-in. bottom edge boards and attach them with 3/4-in. finish nails to the underside of the tabletop on opposite edges from each other, keeping them flush with the leading edge and sides.
- Next, employ mucilage to the two 36-in. bottom border boards and attach them with 3/4-in. finish nails to the underside of the tabletop between the 2 40-in boards, keeping them affluent with the leading border. (Meet photograph.)
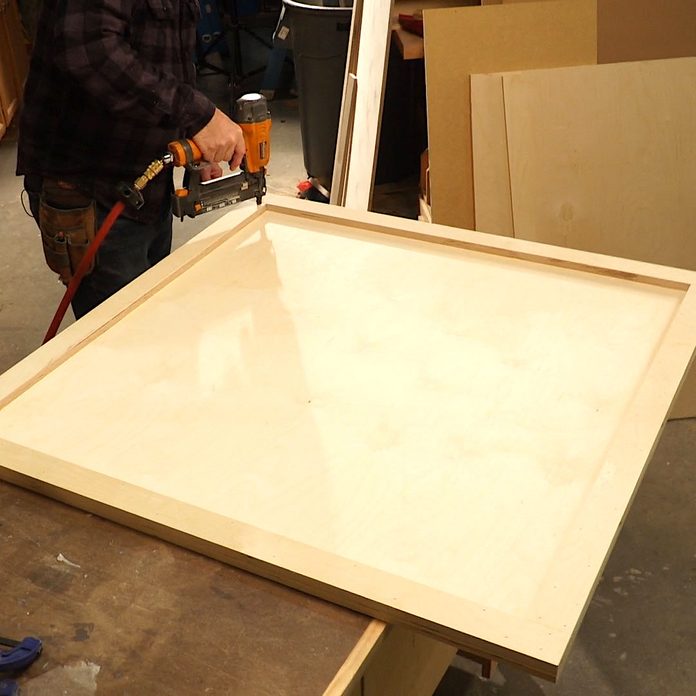
Step 6
Gluing the Mounting Blocks
- Glue and nail the mounting blocks to the underside side of the tabletop. The three-inch side of the block should exist flush with the within of the bottom edge board.
- Leave a 1-1/ii-in. gap betwixt the top of the block and the side by side bottom border board. (See photograph.)

Pace vii
Laminating the Legs
- Mucilage two leg boards together to make one one-1/ii-in. x 2-1/4-in. 10 30-in. leg.
- Smash the boards together with 1-i/four-in. finish nails.
- Repeat this procedure on the remaining three legs.

Step viii
Corner Template (Optional)
- Cut an eight-in. 10 8-in. lath from the leftover plywood.
- Depict a 4-inch radius circle in one corner of the board.
- Cutting 1/4 of the radius from the corner of the board using a jigsaw.
- Sand the radius smooth removing any imperfections with 150-grit sandpaper.
Step nine
Rounding the Corners (Optional)
- Clamp the template in one corner to the underside of the tabletop, keeping it flush with both edges of the corner.
- Round off the corner using a router with a begetting flush trim chip or a trim chip and guide collar.
- Loosen the clamps and remove the template, repeating this procedure on the remaining three corners.
- You tin can also round the corners using a jigsaw. Sand the corners smooth with 150-grit sandpaper.

Pace 10
Cutting the legs to length
- Use a table saw to trim i/8-in. from both sides of the 2-1/four-in. legs, making them two inches wide.
- Next, trim about 1/4-in. from i cease of each leg, then cut the other end to 29-i/2-in.
- Cut a 45-degree angle off one-half the end of each leg. (See photo.)
Step 11
Round-over the Edges (Optional)
- Circular over the top and bottom edges of your tabletop with a ane/2-in. round-over router bit.
- Round over all 4 edges of each leg with a 1/2-in. round-over router bit.

Footstep 12
Fill & Sand
- Fill all the nail holes with wood filler. Let it dry completely.
- Sand the tabletop and legs smoothly, removing any imperfections with 220-grit sandpaper.

Stride xiii
Finish
- Optional: You can stain or dye the table to the desired hue to match your décor.
- Seal the tabletop and legs with spray, castor, or wipe-on polyurethane.
- Pro tip: For an extra durable finish, employ three to four coats of polyurethane, sanding with 400 grit sandpaper between each glaze.
Pace 14
Attach Leg Brackets
- Flip the tabletop upside down. Insert the end of the leg into the corner, between the block and the inside of the bottom edge, with the angle facing angle out abroad from the block. (Meet photograph.)
- Place the leg bracket on the mounting block tight against to leg and marking the holes with a pencil.
- Predrill the holes with a 3/32-in. drill bit.
- Attach the leg subclass to the leg, then to the mounting subclass, using 3/4-in. pan caput screws.
- Echo this procedure on the remaining 3 legs.

Originally Published: December 08, 2022
Source: https://www.familyhandyman.com/project/how-to-build-an-easy-diy-folding-table/
0 Response to "How To Set Up Folding Table"
Post a Comment